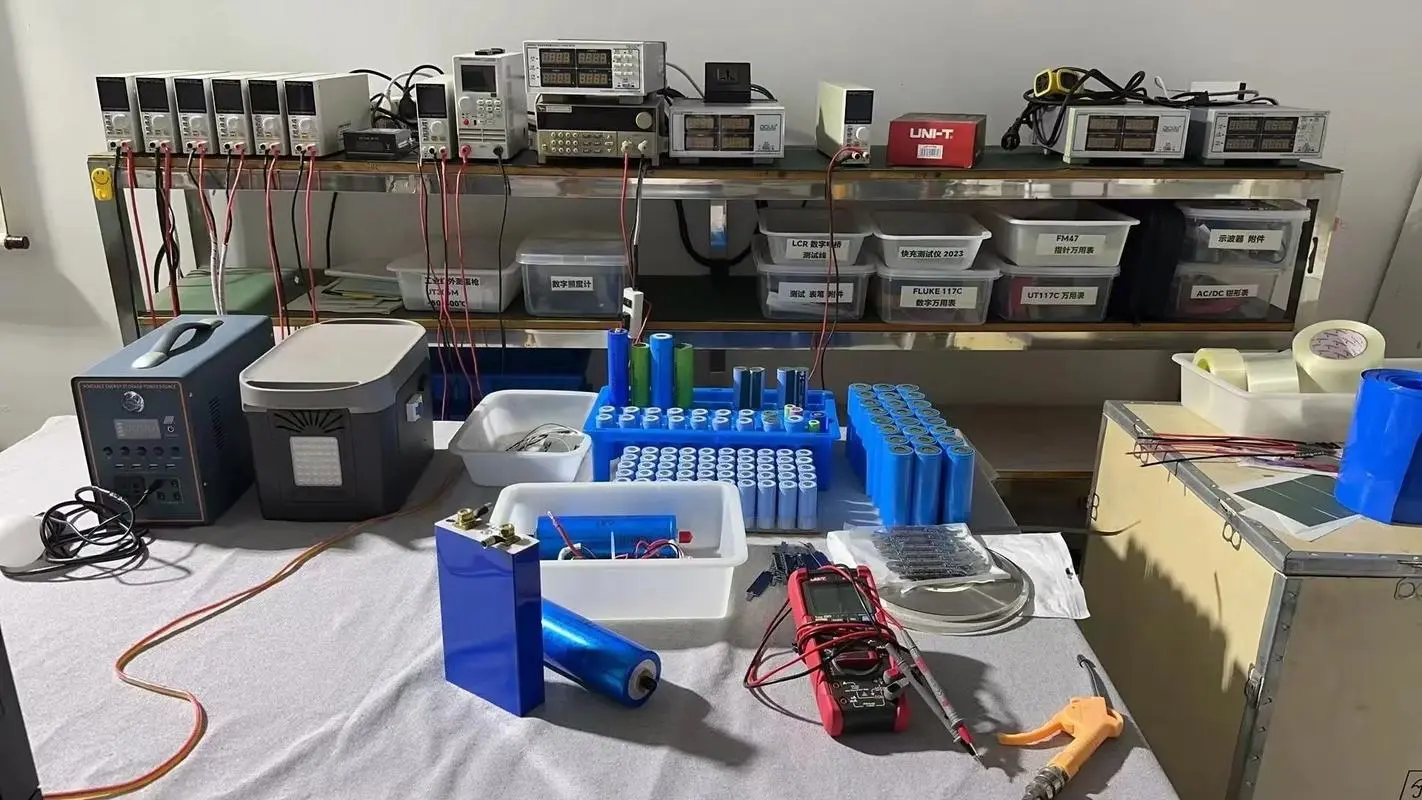
So you’ve got your hands on a new batch of LiFePO4 (Lithium Iron Phosphate) batteries—how exciting! Known for their top-tier safety, long cycle life, and reliable performance, these batteries are a popular pick for energy storage, electric vehicles, and DIY battery projects.
But wait—before you hook them up, there’s one step you really shouldn’t overlook: testing. Properly checking your new LiFePO4 batteries ensures they perform well, stay safe, and last longer. Plus, it’s always reassuring to know you didn’t end up with a defective set.
In this guide, we’ll take you through a clear step-by-step process to test your batteries and list the essential tools you’ll need to get it done right.
Start by checking the voltage of each battery. This quick test shows whether the batteries arrived in good shape and within acceptable specs.
Tool Needed: Multimeter
Here’s how:
- Set your multimeter to DC voltage.
- Ensure the battery isn’t connected to any circuit.
- Place the red probe on the positive terminal and the black probe on the negative terminal.
- Read the value.
A healthy LiFePO4 battery should typically read between 3.2V and 3.3V when it arrives. Anything far off from this range could signal an issue.
Voltage alone isn’t enough. You’ll want to know the actual energy the battery can store and deliver—that’s where capacity testing comes in.
Tool Needed: Battery Capacity Tester
A capacity tester discharges the battery at a steady rate while measuring how much energy (in Ah or Wh) it supplies. Follow the instructions for your specific device.
Remember to:
- Fully charge the battery before starting.
- Keep an eye on the discharge curve—watch for unusual voltage drops.
- Compare your result with the manufacturer’s rated capacity.
For new batteries, a difference within 5% is generally acceptable. Anything larger may mean it’s time to contact support or file a warranty claim.
It’s easy to skip, but a physical check is crucial for spotting obvious flaws.
Look for:
- Swelling or bulging — suggests internal pressure or damage.
- Cracks or dents — could become a safety hazard.
- Signs of leakage or corrosion around the terminals.
If you spot any physical damage, stop using the cell right away and get in touch with your supplier.
Here’s your go-to toolkit:
| Tool | Purpose |
| Multimeter | Measures voltage to verify safe levels. |
| Battery Capacity Tester | Determines actual capacity and performance. |
| PPE (Gloves, Goggles) | Safety first—always protect yourself. |
| (Optional) IR Thermometer | Monitors abnormal heating during tests. |
- Work in a well-ventilated space.
- Use insulated tools to prevent accidental short circuits.
- Test batteries one by one—unless you’re experienced with balancing packs.
- Label each battery with its test results for easy reference later.
Testing your new LiFePO4 battery isn’t just about weeding out duds—it’s how you build a strong, dependable battery system from the start. With a few basic tools and some careful steps, you can trust that your power source is ready to perform.
Next:Sungrow Addresses Extreme Middle Eastern and African Heat with Launch of 1+X 2.0 Modular Inverter